Group Business
大型市场
北山市场,北山东部石材城,胜利路电子电脑市场
图书
西宁书城,西宁三田书城
百货小商品
西宁三田购物小商品城
住宅项目
西平府,三田雍泓·青海城
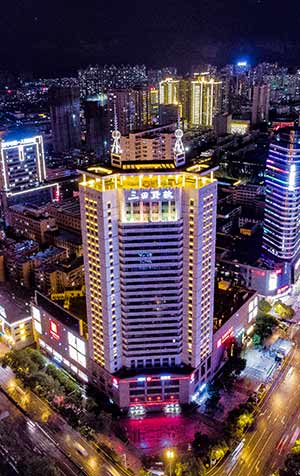
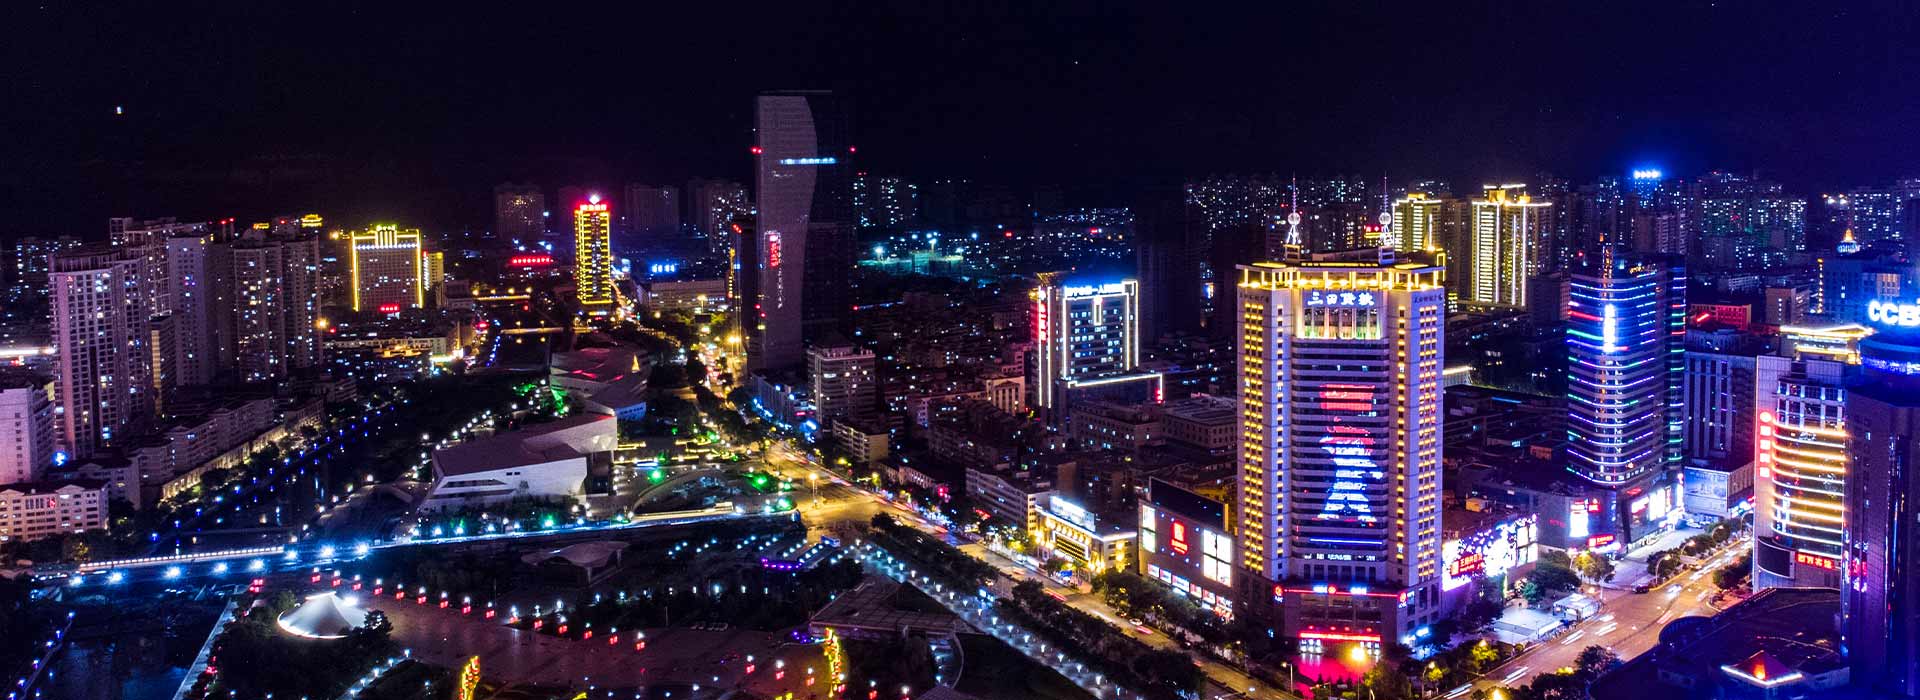
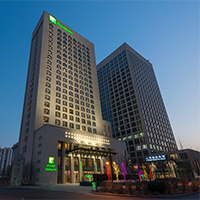
酒店、公寓
西宁三田书城商务酒店,香河三田雍泓大酒店,廊坊三田广场
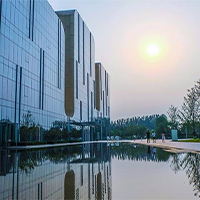
写字楼
三田世纪广场,三田雍泓大厦
物业服务
香河三田雍泓物业服务有限公司
About Us
联系我们
0971-8233333
周一至周五 8:30—18:00